Last updated November 21, 2026
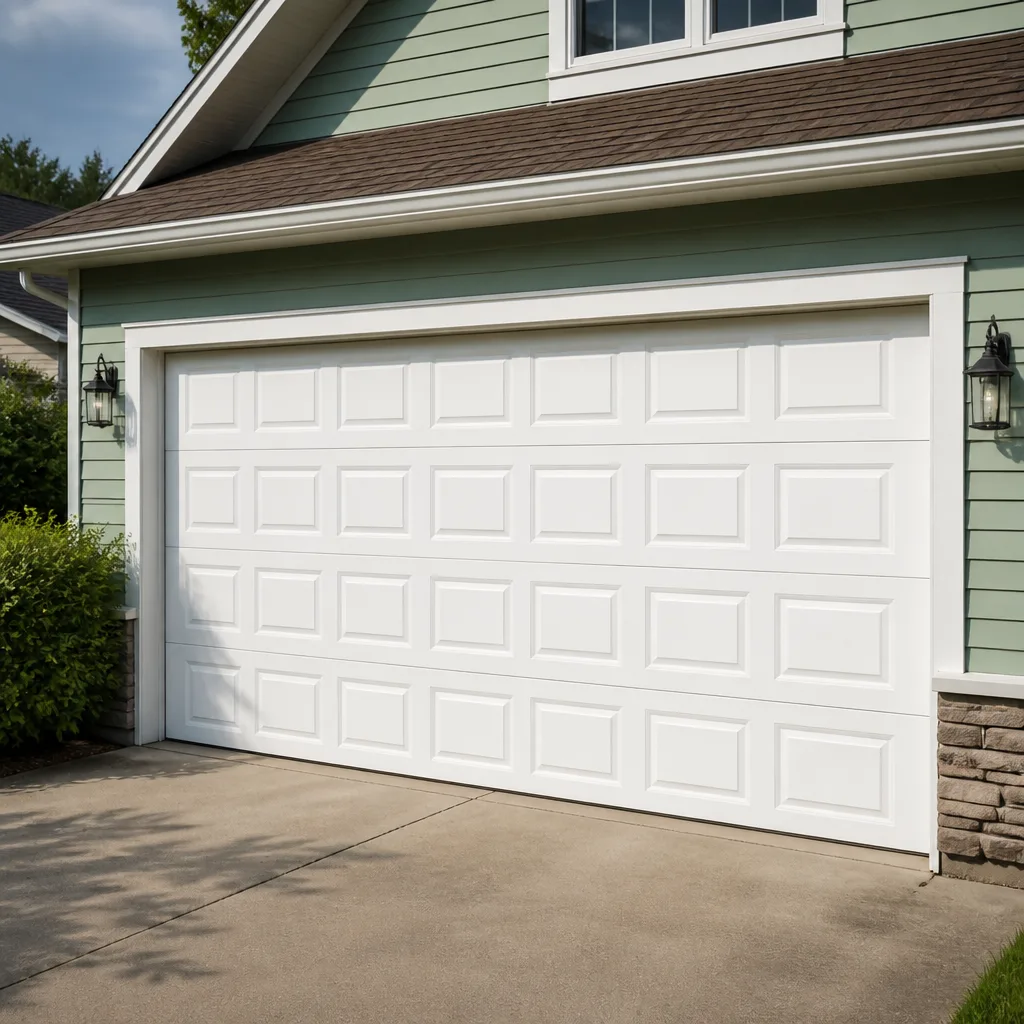 Raised-panel steel
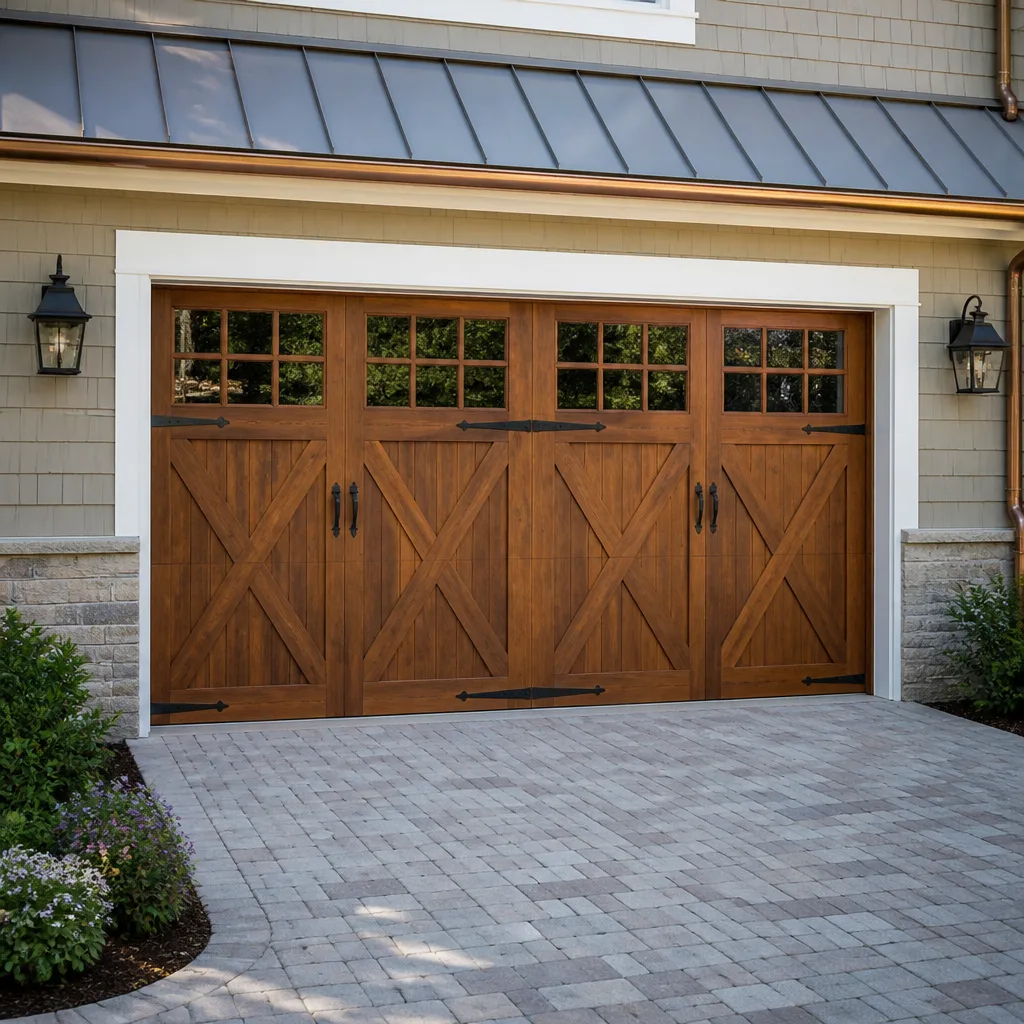 Carriage house
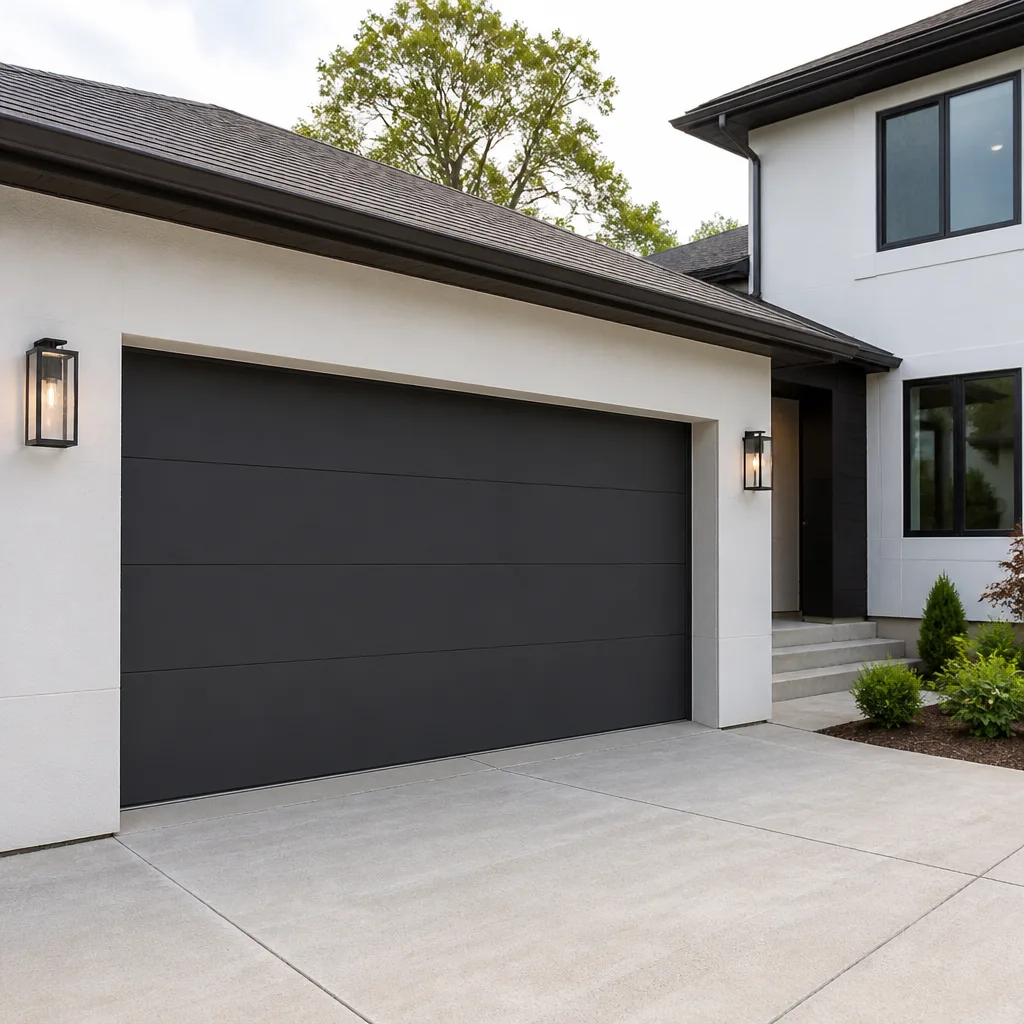 Modern flush
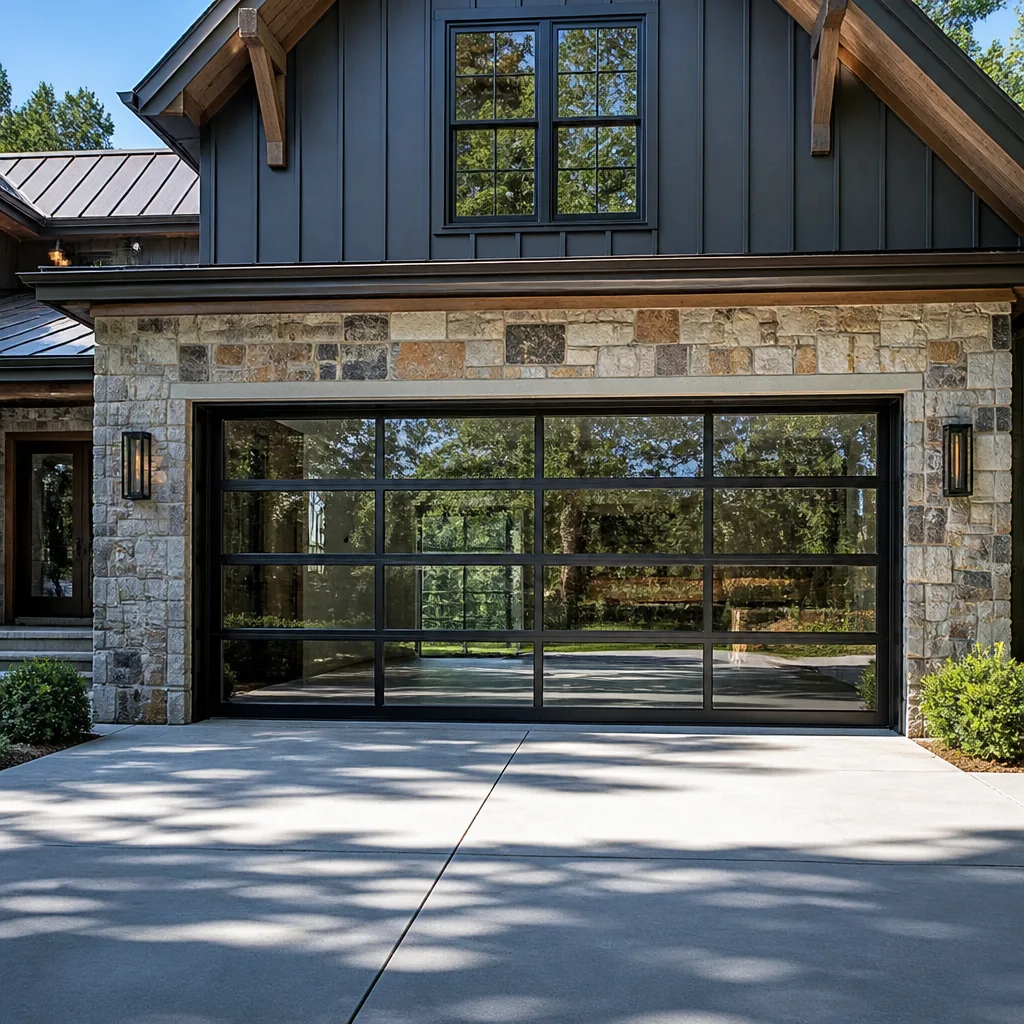 Full-view glass
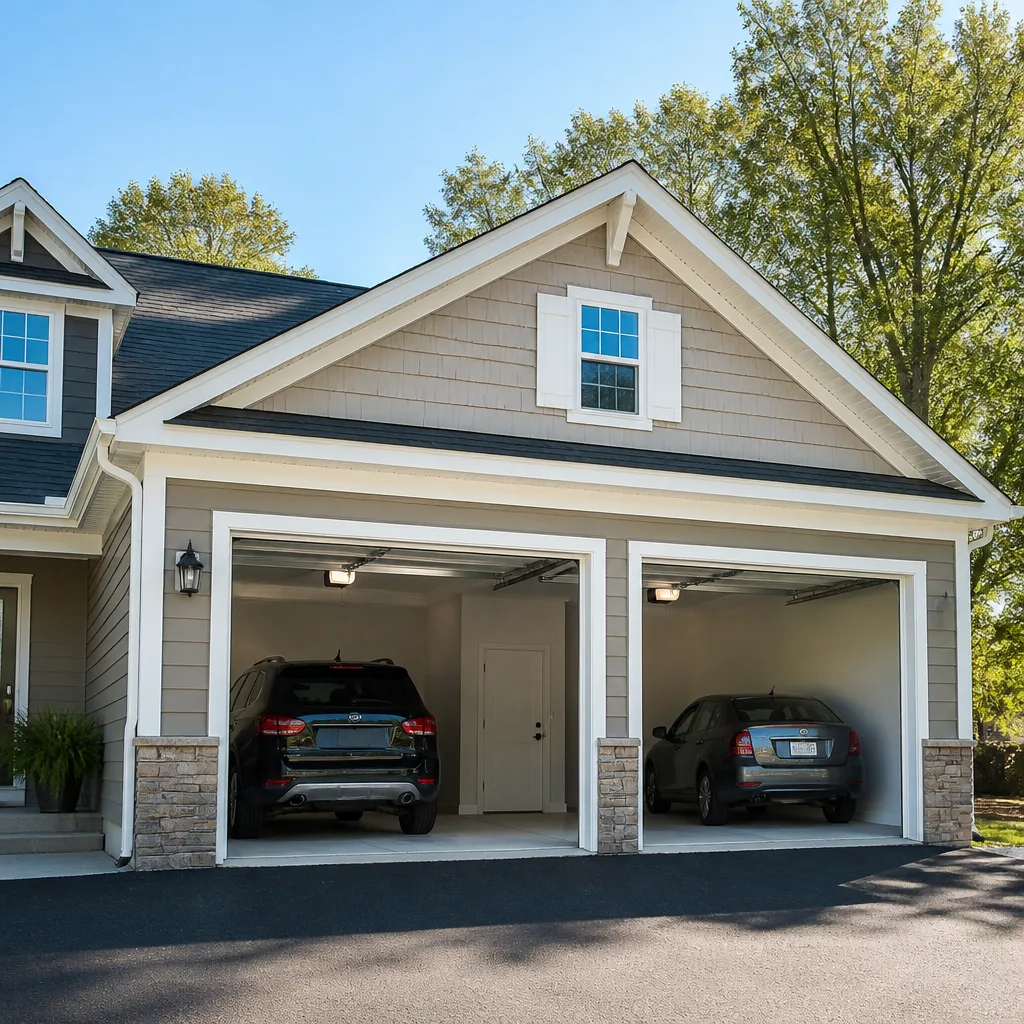 LiftMaster openers
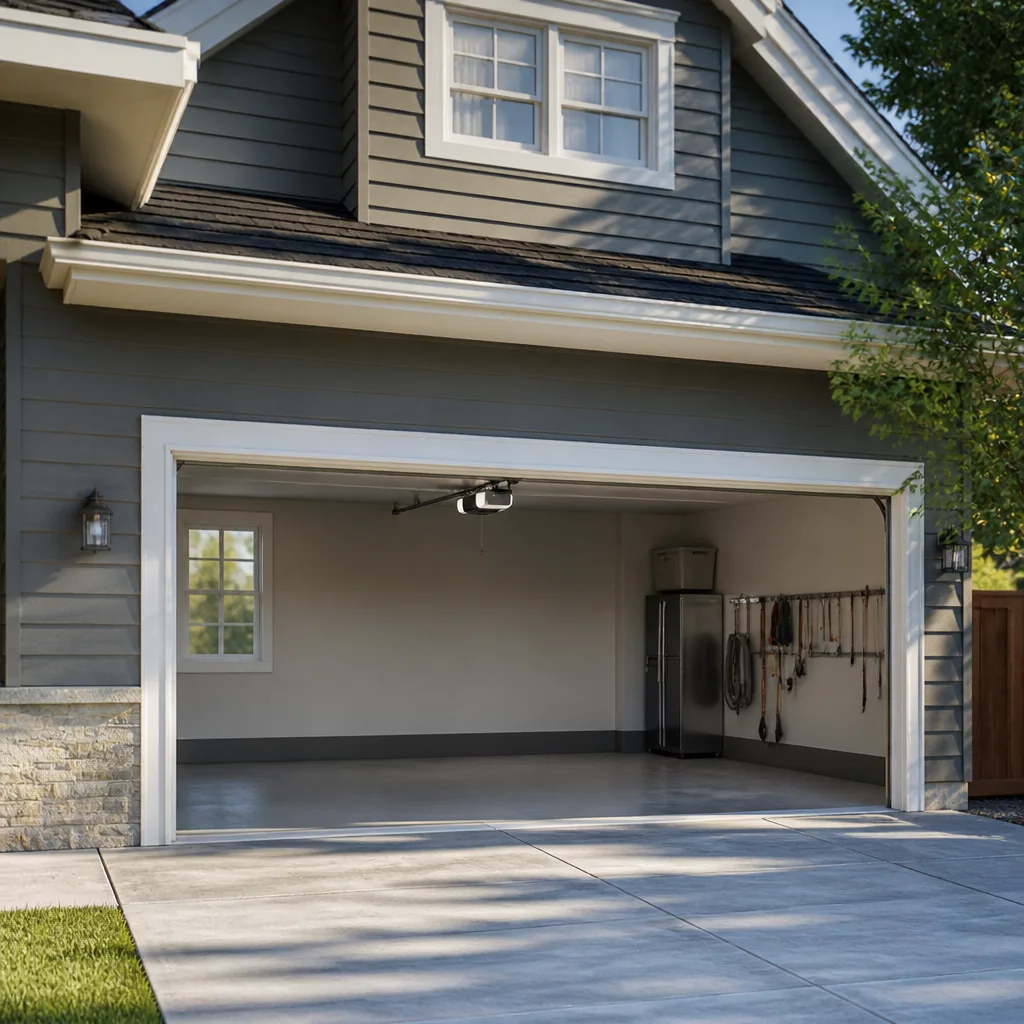 Chamberlain openers
Full 25-point door and opener safety check with every visit - springs, cables, rollers, tracks, and your LiftMaster or Chamberlain opener included
You get a price before we start. It does not change when the pro arrives.
Get your free estimateGarage Door Repair Maintenance Checklist for Fort Lee Homeowners
The number one reason garage doors in Fort Lee fail early isn’t neglect. It’s lubrication applied to the wrong parts in the wrong order. Most homeowners spray everything that looks metal, including the tracks, and that single habit speeds up wear on rollers and hinges instead of protecting them. A door that gets “maintained” this way can be worse off than one that gets nothing. This checklist is built the way a technician actually inspects a door: in sequence, so each step reveals the next problem before it compounds. By the end you’ll know the right lubrication order, how a manual lift test should feel, which hardware checks matter most on high-cycle doors, and how to log spring wear so replacement isn’t a surprise.
Quick Answer
A proper garage door maintenance checklist in Fort Lee runs in a set order: safety check first, then balance test, then rollers and hinges, then lubrication in the correct sequence, then springs, cables, and weather seals, then opener and safety-reverse testing, then a written log. Tracks get cleaned, never lubricated. Bottom seals and hinges take the most abuse in the Hudson River corridor’s humid summers and freeze-thaw winters, so they deserve a closer look than most guides suggest. Done in this sequence, the whole inspection takes under an hour and catches the wear that turns into an emergency call.
Styles & brands we work with
- Raised-panel steel
- Carriage house
- Modern flush
- Full-view glass
- LiftMaster openers
- Chamberlain openers
Table of Contents
- Step 1: The Safety Walk-Around Before You Touch Anything
- Step 2: The Manual Lift Test and What Drift Tells You
- Step 3: Rollers, Hinges, and Hardware Torque Checks
- Step 4: The Correct Lubrication Sequence
- Step 5: Springs, Cables, and What You Should Never Adjust
- Step 6: Bottom Seals, Hinges, and the Hudson Corridor Climate
- Step 7: Opener and Safety-Reverse Testing
- Step 8: Building a Wear Log for Your Springs
- Common Mistakes to Avoid
- When to Call a Professional
Step 1: The Safety Walk-Around Before You Touch Anything
Every inspection starts with the door closed and the opener unplugged. That order matters. A door that’s been running on a tired spring can drop the moment you disengage the trolley, and a door that’s been running on a stiff one can snap a cable when it moves. Before you touch any moving part, walk the full width of the door with a flashlight and look at it as a system. This first pass in Fort Lee homes often reveals problems the homeowner never noticed from the driver’s seat: a top panel bowing slightly, a hinge plate pulling away from the stile, a bottom bracket with visible rust bloom.
Here’s what the safety walk-around covers, in order:
- Look at the door from the street. Is it level across the bottom? A door that looks slightly tilted when closed is telling you one spring is carrying more load than the other.
- Check the springs above the door. Look for gaps in the coils, a stretched section, or rust streaks running down the coil. Do not touch them with your hands. Visual inspection only.
- Check the cables. They should sit evenly in the drums at each corner. Fraying near the drum or a cable lying slack is a stop-work condition, not a maintenance item.
- Check the bottom bracket. This is the most loaded small part on the whole door. Any rust, cracking, or looseness there means the door should not be cycled until a technician looks at it.
- Pull the manual release only after the door is fully closed and you’ve confirmed the springs look intact.
If anything in this walk-around looks wrong, that’s where the inspection stops and the call starts. High-tension springs and the cables under them are the one part of this system that regularly injures homeowners who try to work around them. The rest of this checklist assumes the door passes the safety pass. If it doesn’t, our garage door repair team can look at it the same day.
Step 2: The Manual Lift Test and What Drift Tells You
A correctly balanced door should lift with one hand and stay put wherever you let go. That’s the whole test. With the opener disconnected, raise the door to about waist height, let go, and watch what it does. A door that drifts up or down three to four inches from that position is slightly out of balance: the springs are carrying too much or too little load, and the opener is quietly compensating for it on every cycle. That compensation is what burns out opener gears early and what makes a door feel heavy by the time anyone thinks to check.
What each result means:
- Drifts up three to four inches: springs are over-tensioned. Common after a spring was replaced without rebalancing the pair. Not dangerous on its own, but it stresses the opener and the top section.
- Drifts down three to four inches: springs are losing tension. The early warning sign of a spring nearing the end of its cycle life. This is the reading that should send you to a spring specialist, not a generalist.
- Stays put at every height: balanced. No action needed.
- Drops or slams when released: the door is badly out of balance. Stop. Do not cycle it with the opener. This is a spring or cable failure waiting to happen, and it’s the point where you call for garage door spring repair.
Run this test twice a year, and always after a stretch of very cold weather. Fort Lee’s freeze-thaw winters work springs and cables harder than the summer months do, and a door that passed the lift test in October can fail it by February.
Step 3: Rollers, Hinges, and Hardware Torque Checks
This is where high-cycle doors separate themselves from the rest. If your garage is the primary way you enter the house in Fort Lee, your door runs four to eight cycles a day, not the two or three a typical suburban door sees. That changes the maintenance math. Bolts that would stay tight for years on a low-cycle door work loose in months. Hinges wear into their plates faster. Rollers develop flat spots from stopping in the same position on every cycle.
Work through the hardware in this order:
- Rollers. Look at each roller in its hinge. Nylon rollers should spin freely and feel smooth. Steel rollers that grind, wobble, or have visible flat spots get replaced. A roller that’s lost its bearing is dragging the door every time it moves.
- Hinges. Check each hinge plate for looseness and for wear in the knuckle. A hinge that’s wallowed out its mounting holes should be replaced before it tears the door panel.
- Bolts and fasteners. This is the torque check. Hinges, roller brackets, and the top bracket all take a socket or wrench. Snug is the goal; over-tightening strips the metal the bolt threads into and makes the problem worse.
- The top and bottom brackets. Bolts here work loose on high-cycle doors faster than anywhere else. The bottom bracket in particular should get a visual check every time.
On a door that runs several times a day, run this hardware pass quarterly rather than twice a year. It’s the single highest-value habit for Fort Lee homeowners whose garage is the front door in practice.
Step 4: The Correct Lubrication Sequence
Here’s the part almost every guide gets wrong. Lubrication isn’t a single step; it’s a sequence, and the first rule is that the tracks never get lubricated. Not once. Tracks are where the rollers ride, and they need to stay dry so the rollers roll instead of sliding. Grease on the tracks makes the door slide, which sounds smoother, but it actually drags the rollers sideways and wears them out. It also collects grit and turns into a grinding paste.
The correct sequence, in order:
- Clean the tracks first. Wipe them down with a dry cloth or a light solvent on a rag. No grease, no oil, no silicone. Clean and dry is the goal.
- Lubricate the springs. A light coat of a garage-door-specific spray on the coils reduces internal friction and helps them last. Do this with the door closed and the springs at rest.
- Lubricate the hinges. A drop at each hinge knuckle, worked in by cycling the door a few times.
- Lubricate the rollers, sparingly. Rollers with bearings take a small amount at the bearing, not the wheel face. Too much attracts grit.
- Lubricate the opener rail and trolley. A light film on the rail is enough. Too much will fling off onto the door and the car.
- Finish with the lock and the manual release. A drop where the release cord connects keeps it working when you need it.
On product choice: Fort Lee’s summers are humid enough that a light-bodied, non-gumming spray works better than a heavy grease that thickens in the cold and turns tacky in the heat. A garage-door-specific lithium or silicone spray in the lightest grade you can find covers everything above except the opener rail, which is usually better served by a dry lubricant. Read the label and skip anything that says “grease” for the tracks or the rollers.
Step 5: Springs, Cables, and What You Should Never Adjust
Torsion springs store the entire weight of the door. The cables under them carry that stored energy from the drums to the bottom brackets. Both are genuinely dangerous. A torsion spring under load can cause serious injury if a winding bar slips or a cable lets go without warning, and this is why trained technicians handle spring work rather than homeowners. What you can do safely is inspect visually and know the warning signs.
What to look at, not touch:
- Springs: look for gaps in the coils, a stretched section, rust streaking, or a spring that looks tighter on one side than the other. Any of these means the spring is wearing, and a replacement plan is worth making before it breaks.
- Cables: look for fraying, especially near the drums. A cable that’s come out of its drum or is clearly slack means the door should not be cycled. Get it fixed.
- Drums and brackets: look for cracking at the brackets. This is where a failing spring often announces itself first.
Spring cycle life is finite. A standard spring is rated to a certain number of cycles, and every open-and-close is one. A high-cycle spring runs longer. When a spring does break, most Fort Lee homeowners want it fixed the same day rather than logged for later, and our technicians handle that as garage door spring repair. Replacement cost is typically in the low-to-mid hundreds for a single spring, with a matched pair usually replaced together and typically about twice a single. The written estimate given before any work starts sets the final price.
Step 6: Bottom Seals, Hinges, and the Hudson Corridor Climate
The bottom seal and the hinges take more punishment in Fort Lee than any other part of the door, and it isn’t a cleanliness problem. Humidity from the Hudson River corridor plus the winter freeze-thaw cycle work on those two components every year. Summer humidity swells wood door panels and softens rubber seals, and it rusts bare-metal hinge plates from the inside out. Freeze-thaw winters push water into the seams of the bottom seal, freeze it, and slowly tear the seal apart from within.
What this means for your inspection interval:
- Check the bottom seal every spring and fall. Run a hand along the bottom edge and look for cracking, a gap between the seal and the floor, or a seal that’s pulling away from the bottom panel.
- Check hinges for rust bloom every quarter on high-cycle doors. Rust on the knuckle is normal; rust on the mounting plate is the warning sign that the hinge is on its way out.
- Check the top and side weather seals once a year. A seal that’s cracked lets in water that rusts the top section.
- Check the threshold after every freeze. A gap that opens after the cold weather is where the water gets in next year.
Getting a seal replaced is a small job with a real payoff. A dead seal lets in water, and water in the wrong place rots a wood door’s bottom panel or rusts a steel door’s bottom rail. Rubber and vinyl seals last a few years in this climate. If your door’s seal looks brittle or torn, a replacement costs less than a new panel. That’s a straightforward service on its own, and it’s part of the wider maintenance picture on our Garage Door Repair Fort Lee page.
Step 7: Opener and Safety-Reverse Testing
The opener is tested last, because a properly balanced door and clean hardware are prerequisites for testing it correctly. A door that’s badly out of balance will mask an opener problem, and an opener tested on a dragging door will look broken when it isn’t. Run the tests while the door is running freely.
What to test:
- The safety reverse. Place a solid object in the door’s path and close it. The door should reverse. If it doesn’t, this is the test that governs whether the opener is safe to use.
- The photo-eye alignment. Check that the sensors near the floor are lit and facing each other. A wobbly sensor is a quick fix; a dead one is a real safety problem.
- Opener force settings. If the door needs a lot of force to close, the opener is compensating for a mechanical problem above. Fix the mechanism first, then the force setting.
- Smart and connected functions. On LiftMaster, Chamberlain, or Genie systems with app control, log into the app and confirm the door reports its position correctly. A door reporting wrong position is often a symptom of a mechanical problem, not a Wi-Fi one.
If the opener itself needs work, our garage door opener repair team handles both legacy openers and smart Wi-Fi systems across the major brands. Bring the opener’s symptom and the brand name and we’ll know where to start.
Step 8: Building a Wear Log for Your Springs
A wear log is the difference between a spring replacement that’s planned and one that’s reactive. You don’t need a spreadsheet; a page taped to the wall by the inside of the door is enough. The point is a record of how much life the door is using, so the spring replacement isn’t a surprise. A simple format works:
- Date of inspection. Record you did the checklist.
- Manual lift result. Stays put, drifts up, or drifts down. Note how far.
- Spring visual condition. Good, or note any gaps, rust, or stretch.
- Hardware condition. Note any loose hinges, flat rollers, or hardware you re-torqued.
- Seal condition. Intact, cracking, or replaced.
After a year or two, the manual lift result line is the one that tells the story. A door that was balanced two years ago and now drifts down three inches is a spring telling you it’s getting tired. Plan the replacement then, get a written estimate before work starts, and you’ve turned a spring failure into a scheduled job. That single habit is worth more than any one repair.
Common Mistakes to Avoid
- Lubricating the tracks. This is the most common one, and it accelerates roller wear instead of reducing it. Tracks get cleaned and left dry.
- Using WD-40 or a general-purpose oil on the springs and hinges. Those products aren’t made to stay put under a garage door’s load and heat. A garage-door-specific spray in the lightest grade works better in this climate.
- Tightening bolts until they feel “really tight.” Over-tightening strips the metal and loosens the hinge faster than leaving it alone. Snug is the target.
- Skipping the balance test because the door “feels fine.” A door can drift three inches without feeling wrong by hand. The test catches it; your hand won’t.
- Adjusting spring tension yourself. The springs carry the entire weight of the door, and the winding process is the single most dangerous part of this trade. This one isn’t a DIY job.
- Ignoring a bottom seal that’s seen two winters. Water gets in, rusts or rots the bottom panel, and the seal replacement becomes a panel replacement.
- Forgetting to run the safety-reverse test. It’s the one check that affects the safety of everyone in the house, and it takes thirty seconds.
See the difference
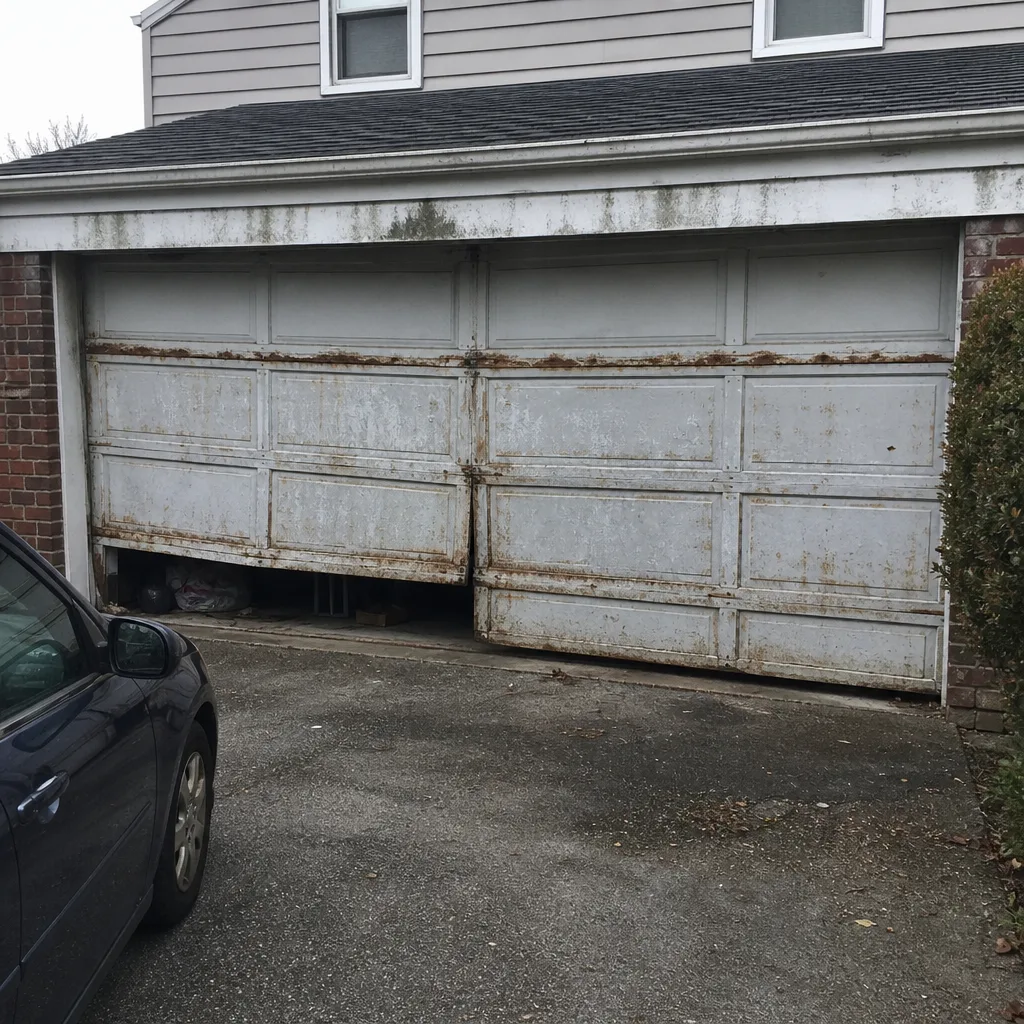 Before
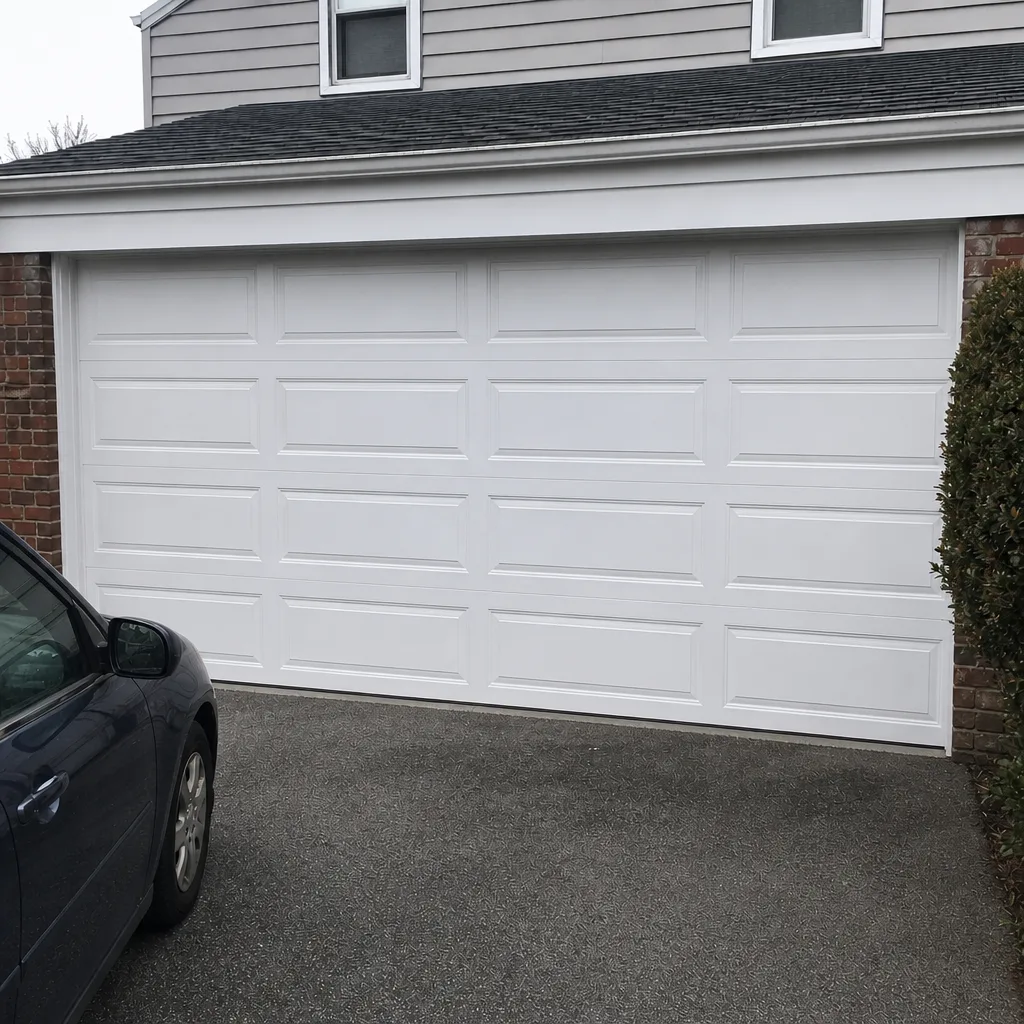 After
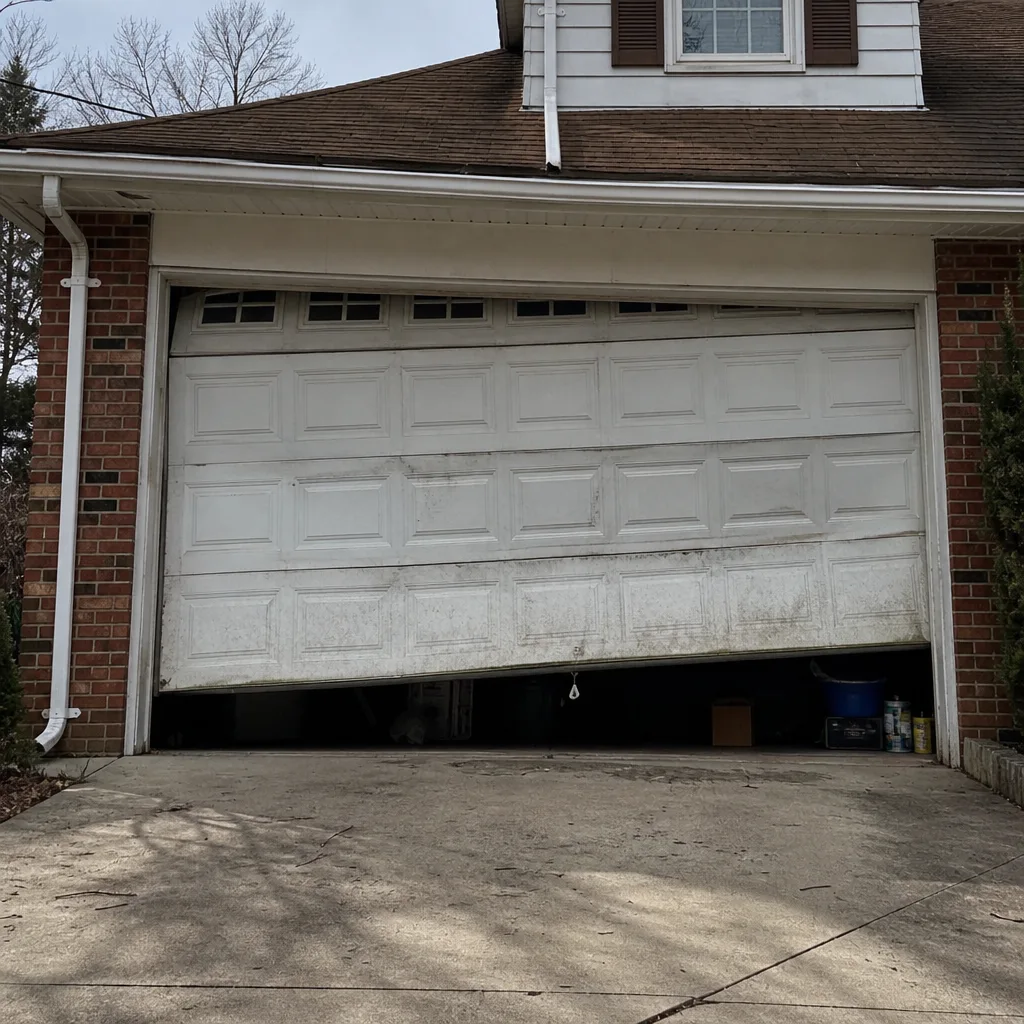 Before
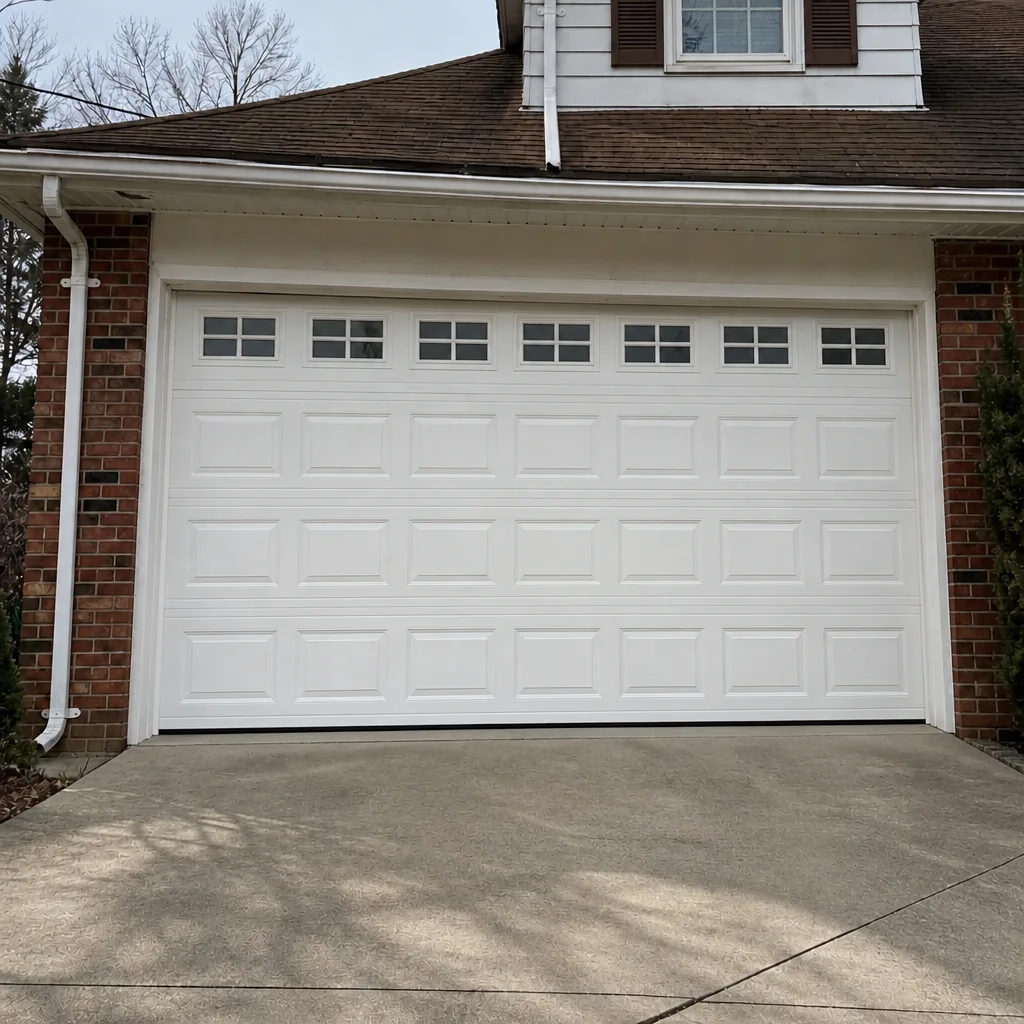 After
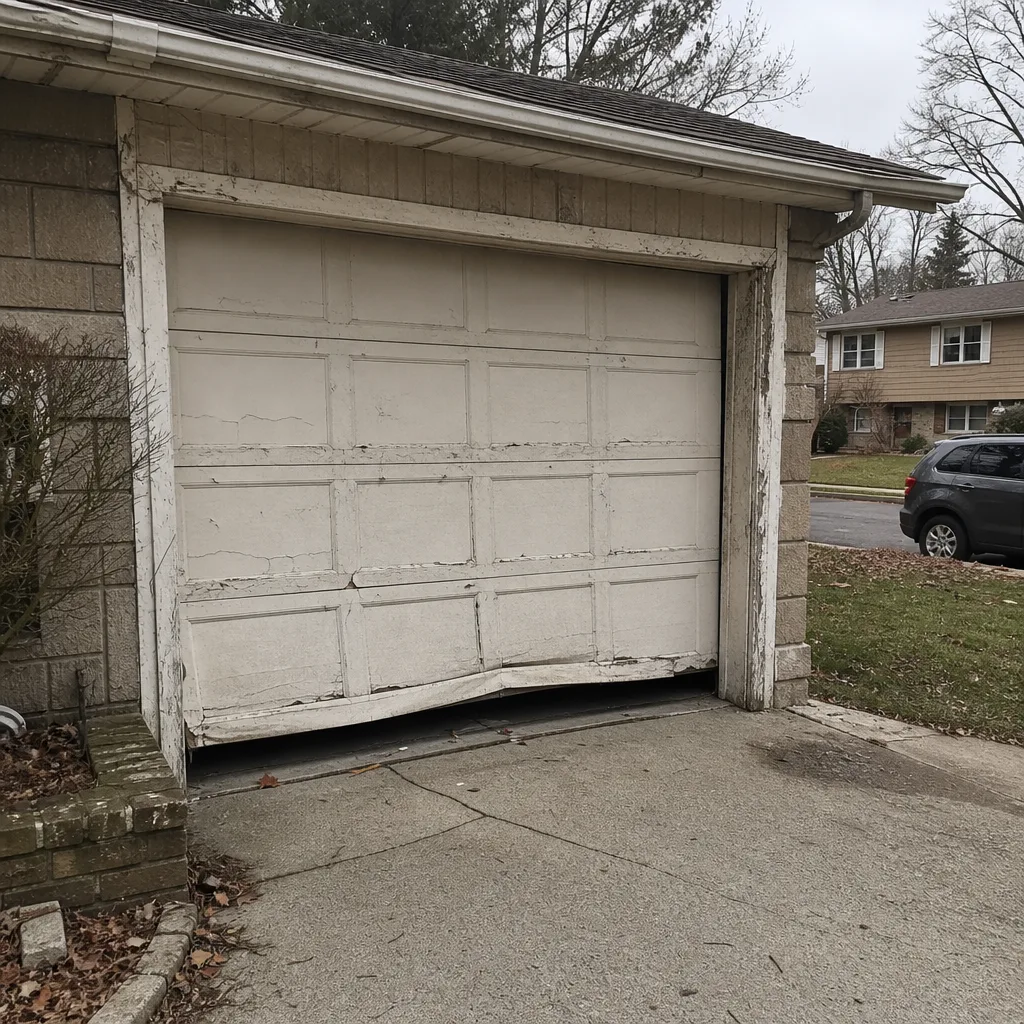 Before
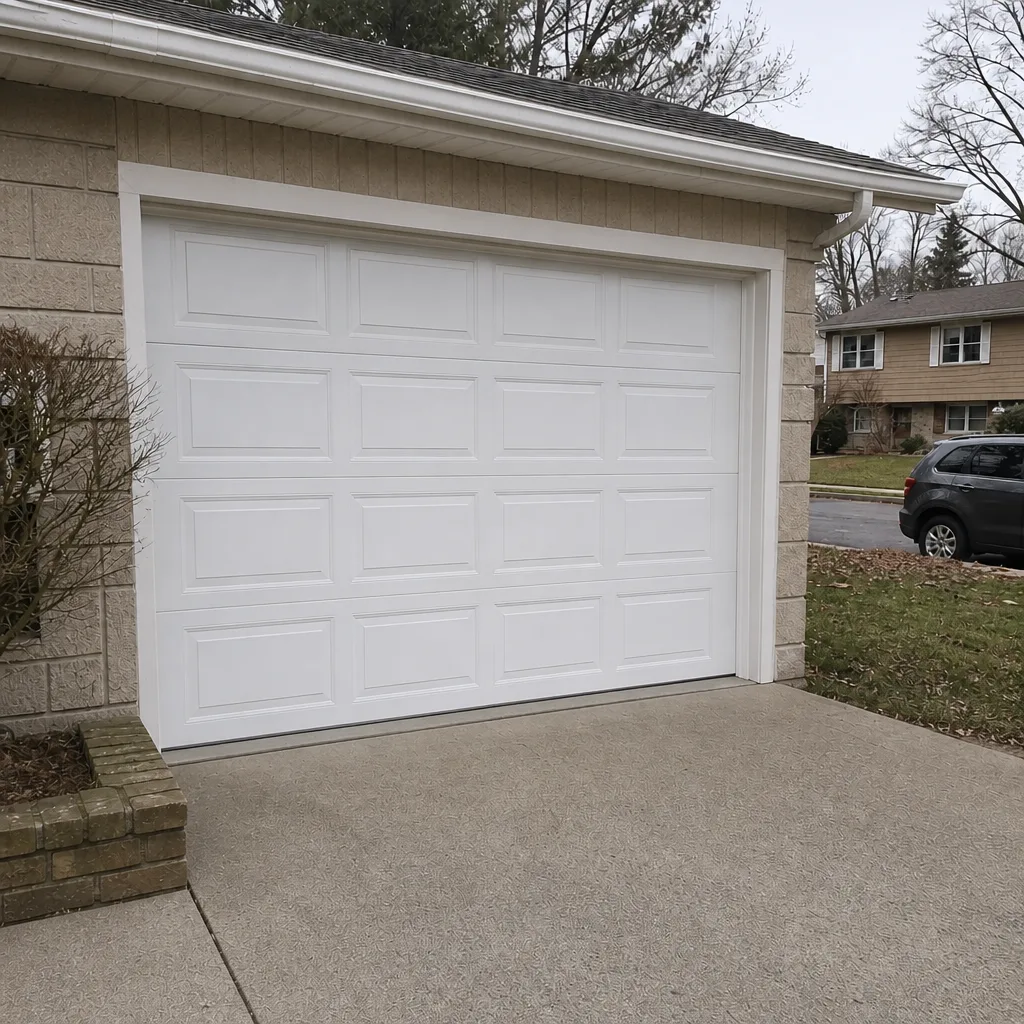 After
When to Call a Professional
Call a professional before you cycle the door if any of these are true: a spring is visibly stretched or has a gap; a cable is frayed or slack; the bottom bracket is loose, rusted, or cracked; the door drops or slams during the manual lift test; the door is visibly tilted when closed; or the safety-reverse test fails. Each of those is a real risk, not a maintenance item. Beyond that, call when the balance test is consistently off, when the hardware keeps loosening no matter how often you tighten it, or when the door has become the primary entry to the house and needs a quarterly pass rather than twice a year. Garage Door Repair Fort Lee offers free estimates in Fort Lee. Call (877) 806-9927.
Frequently Asked Questions
Twice a year is the right interval for most doors, in spring and fall, with tracks wiped clean rather than greased. Doors that run four or more times a day, common in homes where the garage is the main entry, benefit from a quarterly pass. Always lubricate in the order above: tracks cleaned, then springs, then hinges, then rollers, then the opener rail.
A three-to-four-inch drift means the door is out of balance and the springs are carrying the wrong load. Drift up means over-tensioned springs; drift down means the springs are losing tension and getting toward the end of their cycle life. Call (877) 806-9927 for a balance check and a written estimate.
No. Tracks should stay clean and dry, never lubricated. Grease or oil on the tracks collects grit and turns into a grinding paste that wears out the rollers. Clean tracks and lubricated rollers, springs, and hinges are what you want.
The Hudson River corridor’s humid summers and freeze-thaw winters work bottom seals, hinges, and cables harder than a milder climate. Summer humidity softens rubber seals and rusts bare-metal hardware; winter freeze-thaw tears at the bottom seal from within. That’s why this checklist recommends checking seals every spring and fall and hinges every quarter on high-cycle doors.
Look for gaps in the coils, a stretched section, rust streaking down the spring, or an uneven look side to side. Combine that with the manual lift test: a door that drifts down three to four inches is telling you the spring is getting tired. Plan the replacement before it breaks. Call (877) 806-9927 for a spring inspection and a written estimate.
Yes. Our technicians are factory-familiar with LiftMaster, Chamberlain, and Genie openers, among others, so a maintenance visit can include servicing the opener alongside the door hardware. If the opener needs repair, call (877) 806-9927 and mention the brand so we can match the visit to the right technician.
The Bottom Line
A maintenance checklist works when it follows the order a technician actually inspects a door, because each step reveals the next problem before it compounds. Start with the safety walk-around, then the manual lift test, then the hardware, then lubrication in the correct sequence, then springs and seals, then the opener and safety-reverse test, and finish with a wear log that tracks spring life over time. Keep the tracks dry, watch the bottom seal through Fort Lee’s humid summers and freeze-thaw winters, and run the hardware pass quarterly if your garage is the main entry. Do those things and you’ll catch most failures before they become emergency calls.
Need a Professional Look at Your Door?
Call Garage Door Repair Fort Lee at (877) 806-9927 for a free estimate. Our technicians have up to 11 years of experience and work on LiftMaster, Chamberlain, Genie, Clopay, Amarr, Wayne Dalton, Craftsman, and Raynor equipment. We handle repair, opener repair, spring repair, and new door installation, with same-day and emergency service available when a door can’t wait. The price you’re quoted, before any work starts, is the price you pay.
Written by the team at Garage Door Repair Fort Lee.